Master Cliffhanger in Halo Infinite with tactical tips for vertical and close-quarters combat, from Hex Roof to subterranean ambushes.
When I first dropped onto Cliffhanger in Halo Infinite’s Season 3: Echoes Within update, the icy winds and jagged peaks instantly pulled me into its vertical chaos. This arena-style battleground perfectly balances mid-range sightlines with subterranean tunnels, offering a fresh challenge that feels both intimate and sprawling. As a Spartan who has spent countless hours mastering its secrets, I’ve uncovered the tactical nuances that turn a disoriented rookie into a map-controlling menace. From the exposed central roof to the shadowy caverns below, every corner hides an opportunity. Let me walk you through the tips that keep me alive and slaying on this frozen masterpiece.
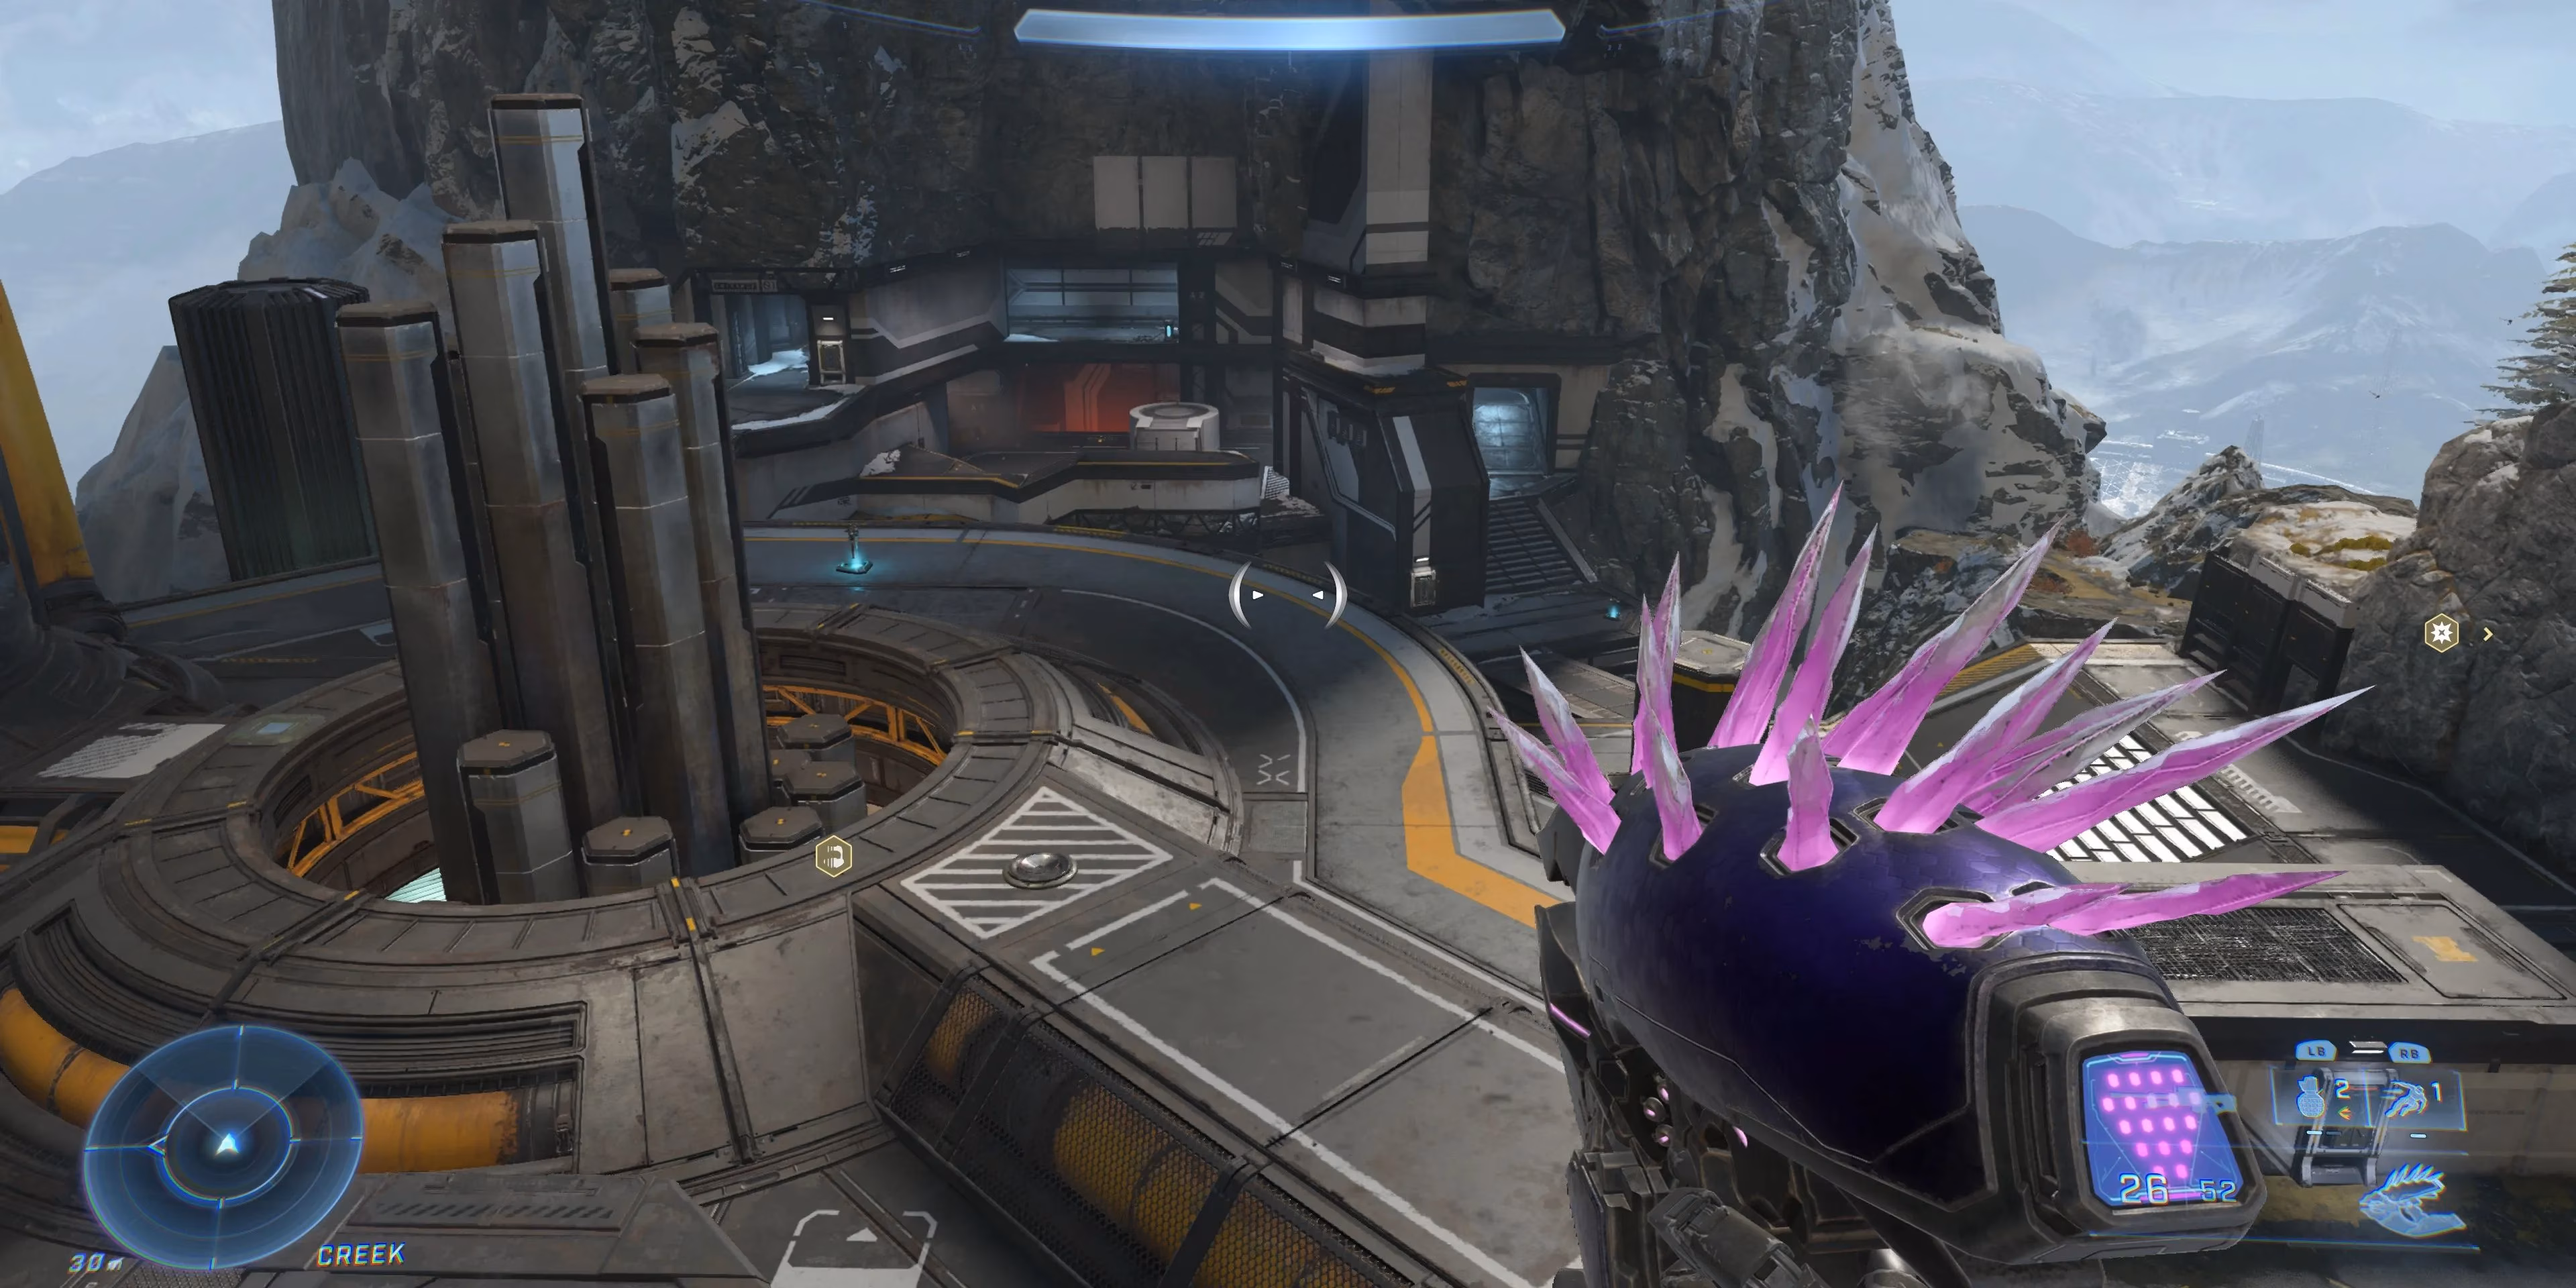
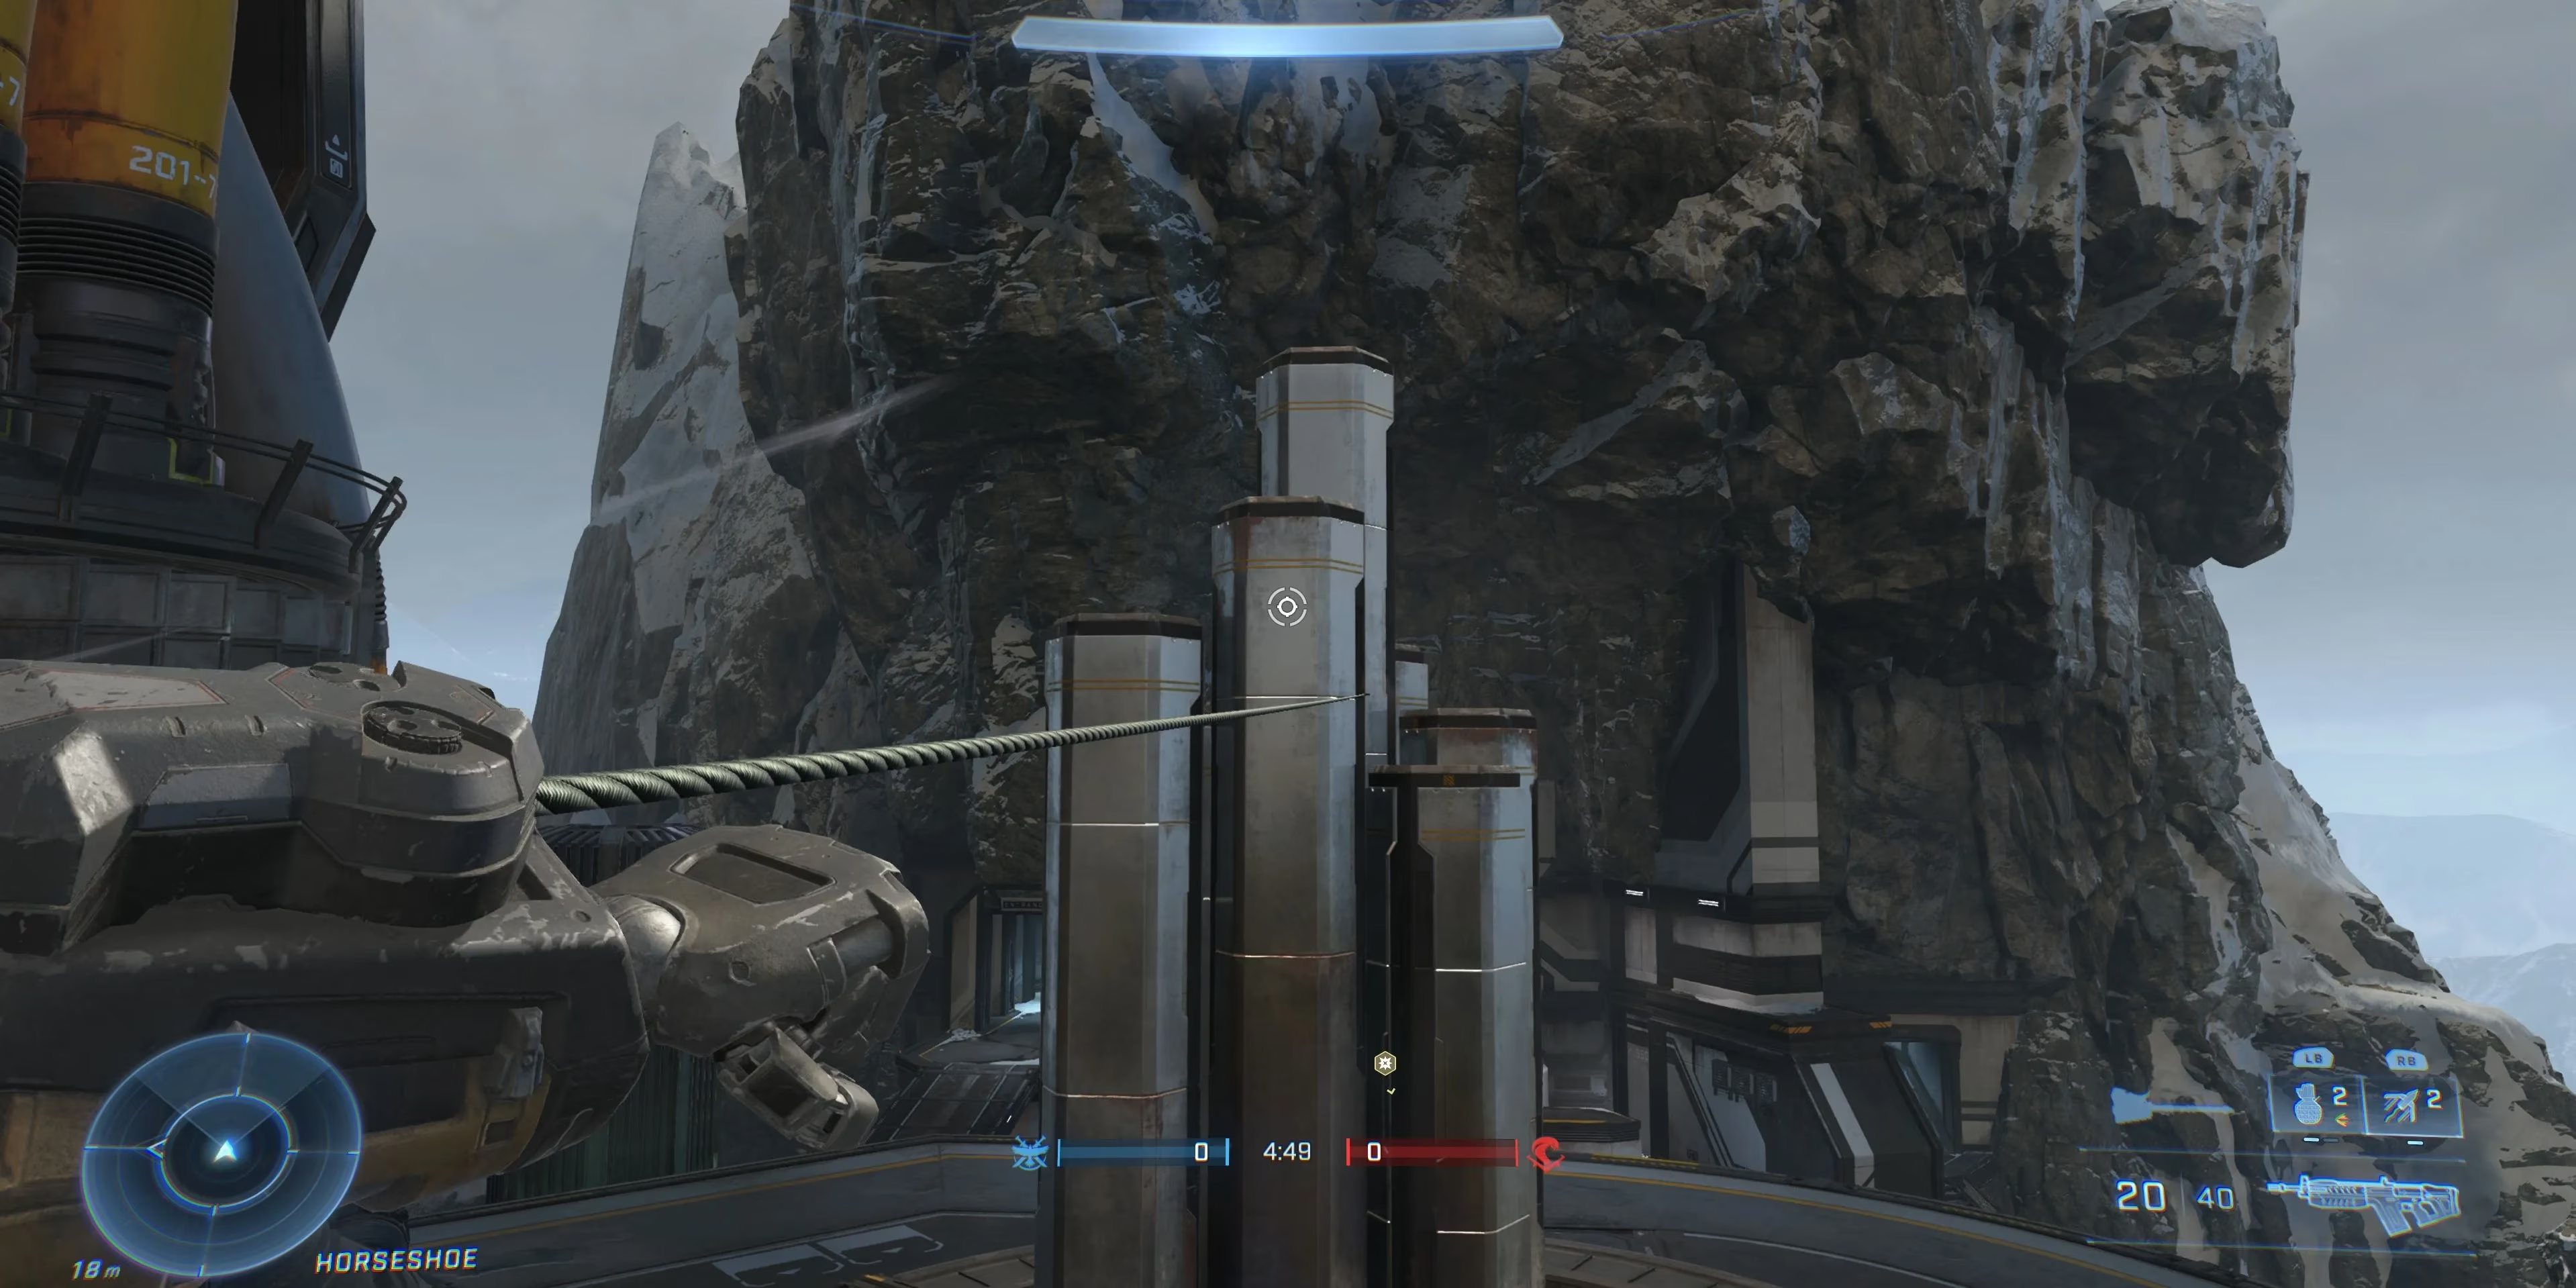
Own the Hex Roof for Total Oversight
The first thing I do on Cliffhanger is scramble up to the central roof platform—what veterans call the Hex Roof. From this perch, nestled between the generator and the deep blue sky, I can surveil nearly every open lane. There’s something empowering about glassing the entire map, tracking enemy movement across the snow-patched rocks and bridges. Combined with a long-range weapon like the Battle Rifle or Commando, this elevation turns me into a living sentry turret. However, complacency here gets you assassinated. I always check the gaping skylight at my feet: careless opponents have dropped through it right onto my head more times than I care to admit. The rear flanks, tucked behind the humming generator, are equally treacherous. I’ve learned to rotate with my team so someone guards those blind spots while the rest of us rain fire. Holding this high ground isn’t just about shooting—it’s about constant, paranoid surveillance.
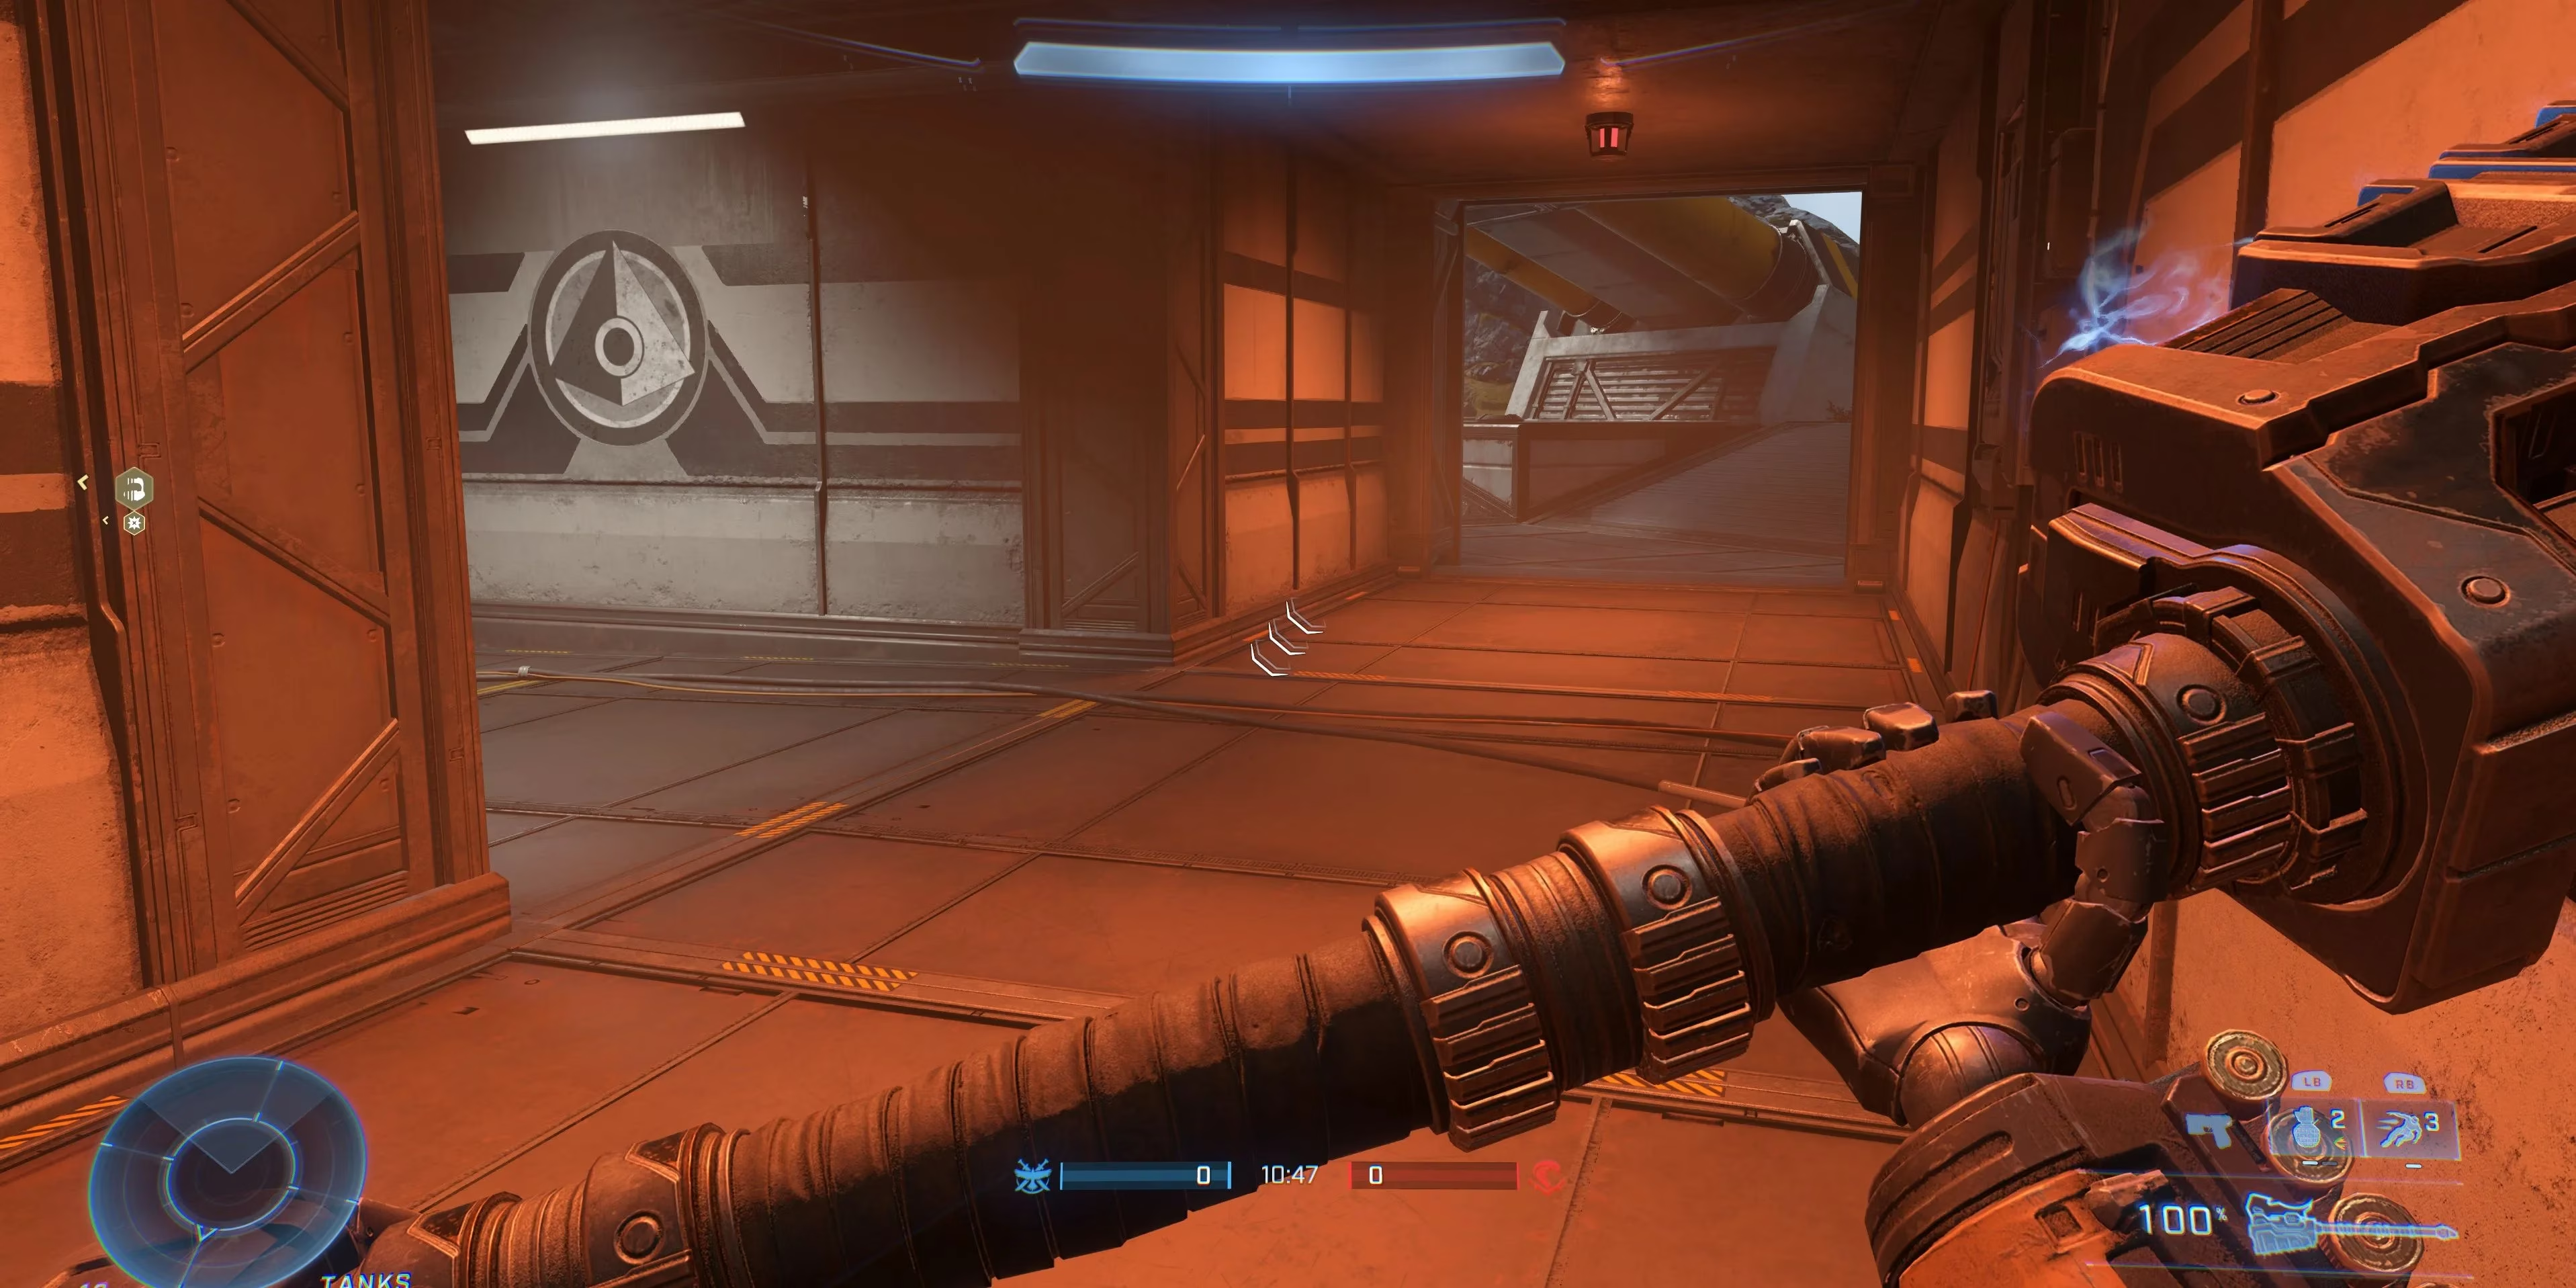
Embrace the Shadows with Close-Quarters Carnage
I’ll admit, sometimes I abandon the rooftop entirely and go feral. When I snag the Energy Sword or Gravity Hammer from the Cliffside Trail—behind the humming conveyor lift—my entire playstyle morphs. Cliffhanger’s lower paths are a labyrinth of crevices, supply rooms, and the eerie Hex Basement. With a power weapon in hand, I become a phantom. I stalk these tunnels, using cover to close gaps before lunging or smashing. The map rewards patience here; I often wait crouched near the generator’s underbelly until a squad pours into the roof area above me. Then I erupt from below or behind, turning their stronghold into a blender. The Gravity Hammer’s shockwave can clear the tight corners beautifully, while the Energy Sword’s lunge lets me bridge surprising distances through doorways. Just remember: sound propagation is a double-edged sword. Your thundering footsteps will alert attentive foes, so sprint only when you’re ready to strike.
Tread Carefully on the Conveyor Lift
That conveyor lift on the map’s flank looks innocent—a quick way to soar over the chasm and land on the Sanctuary side. I’ve been baited by it enough to treat it like a death trap. Riding it blind often delivers me straight into a pre-aimed Sniper Rifle or a cluster of waiting Spartans. The lift’s arc is predictable, so a skilled sharpshooter on the opposite ledge can turn me into target practice before my boots touch the ground. Now, before I step on, I check my teammates’ positions on the tac-map. If allies are already pushing Sanctuary, I might risk it to reinforce them. Otherwise, I stick to the bridges or, better yet, the Grappleshot. The lift remains a valid option for rapid repositioning during the match’s chaos, but I always count to three before activation and have a dodge ready the instant I land.
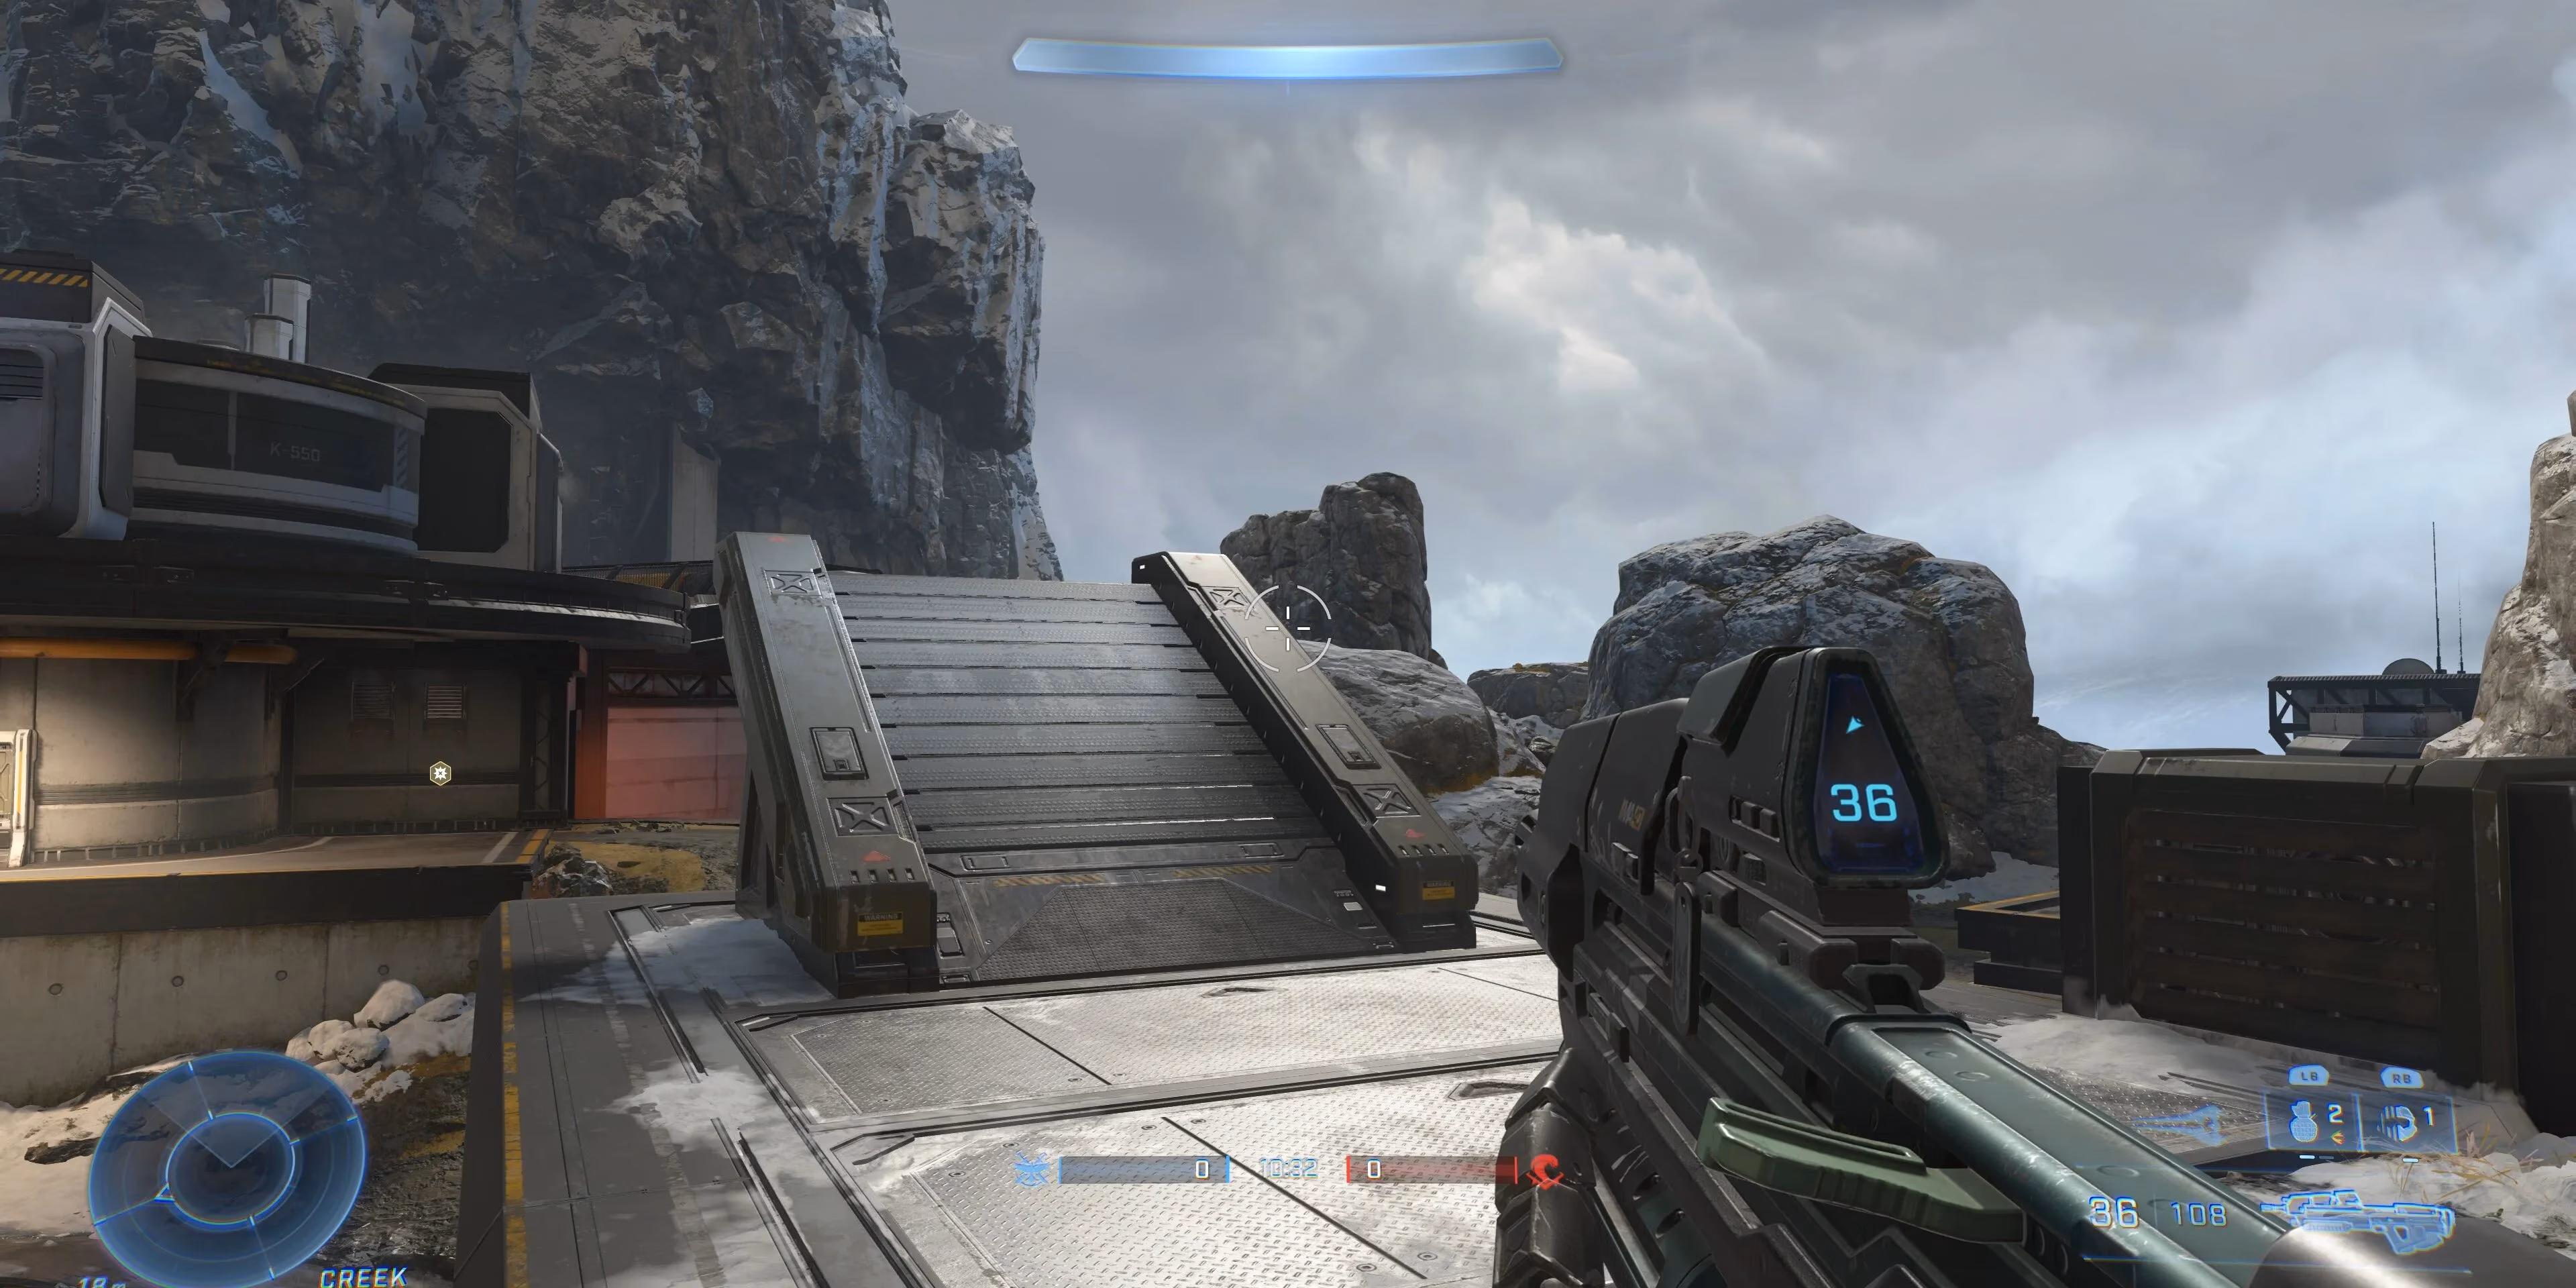
Survive the Bridged Gap
Two footbridges connect the main base area to Sanctuary, and they’ve claimed my life as often as any enemy. With zero cover and a long fall on either side, these catwalks are the definition of exposed. I never cross without first scanning both end points. Even a single opposing player with a mid-range weapon can pin me down or knock me into the abyss with a well-placed burst. Strafing is a death wish here—there’s simply no room to dodge. Instead, I either sprint straight across after a smoke grenade distraction, or I wait for a teammate to lay down suppressing fire. If I control Sanctuary, I treat the bridges as a kill funnel, picking off anyone foolish enough to waltz across. In objective modes, I often sacrifice a little time to take the longer, safer grapple route, because arriving alive is more valuable than arriving fast.
Become Spider‑Man with the Grappleshot
The Grappleshot perched on the raised Hex Roof section is my absolute favorite tool on this map. With three charges, I can sling myself from the lowest tunnels to the highest snowy peak in moments. Cliffhanger’s rocky spires and multi-tier structures were built for grappling. I’ve escaped entire firefights by zipping through the air, and I’ve closed distance on retreating flag carriers with a single swing. The ability to bypass bridges and the lift entirely is game‑changing; I can flank Sanctuary by grappling from the cliffs behind it, catching snipers completely off guard. However, I never burn all three charges recklessly. Each grapple is a lifeline. Leaping over the chasm with no utility left means a humiliating plummet. I’ve learned to chain swings efficiently, using momentum to carry me further, and to keep one charge for an emergency escape. Master the Grappleshot here, and the map becomes your playground.
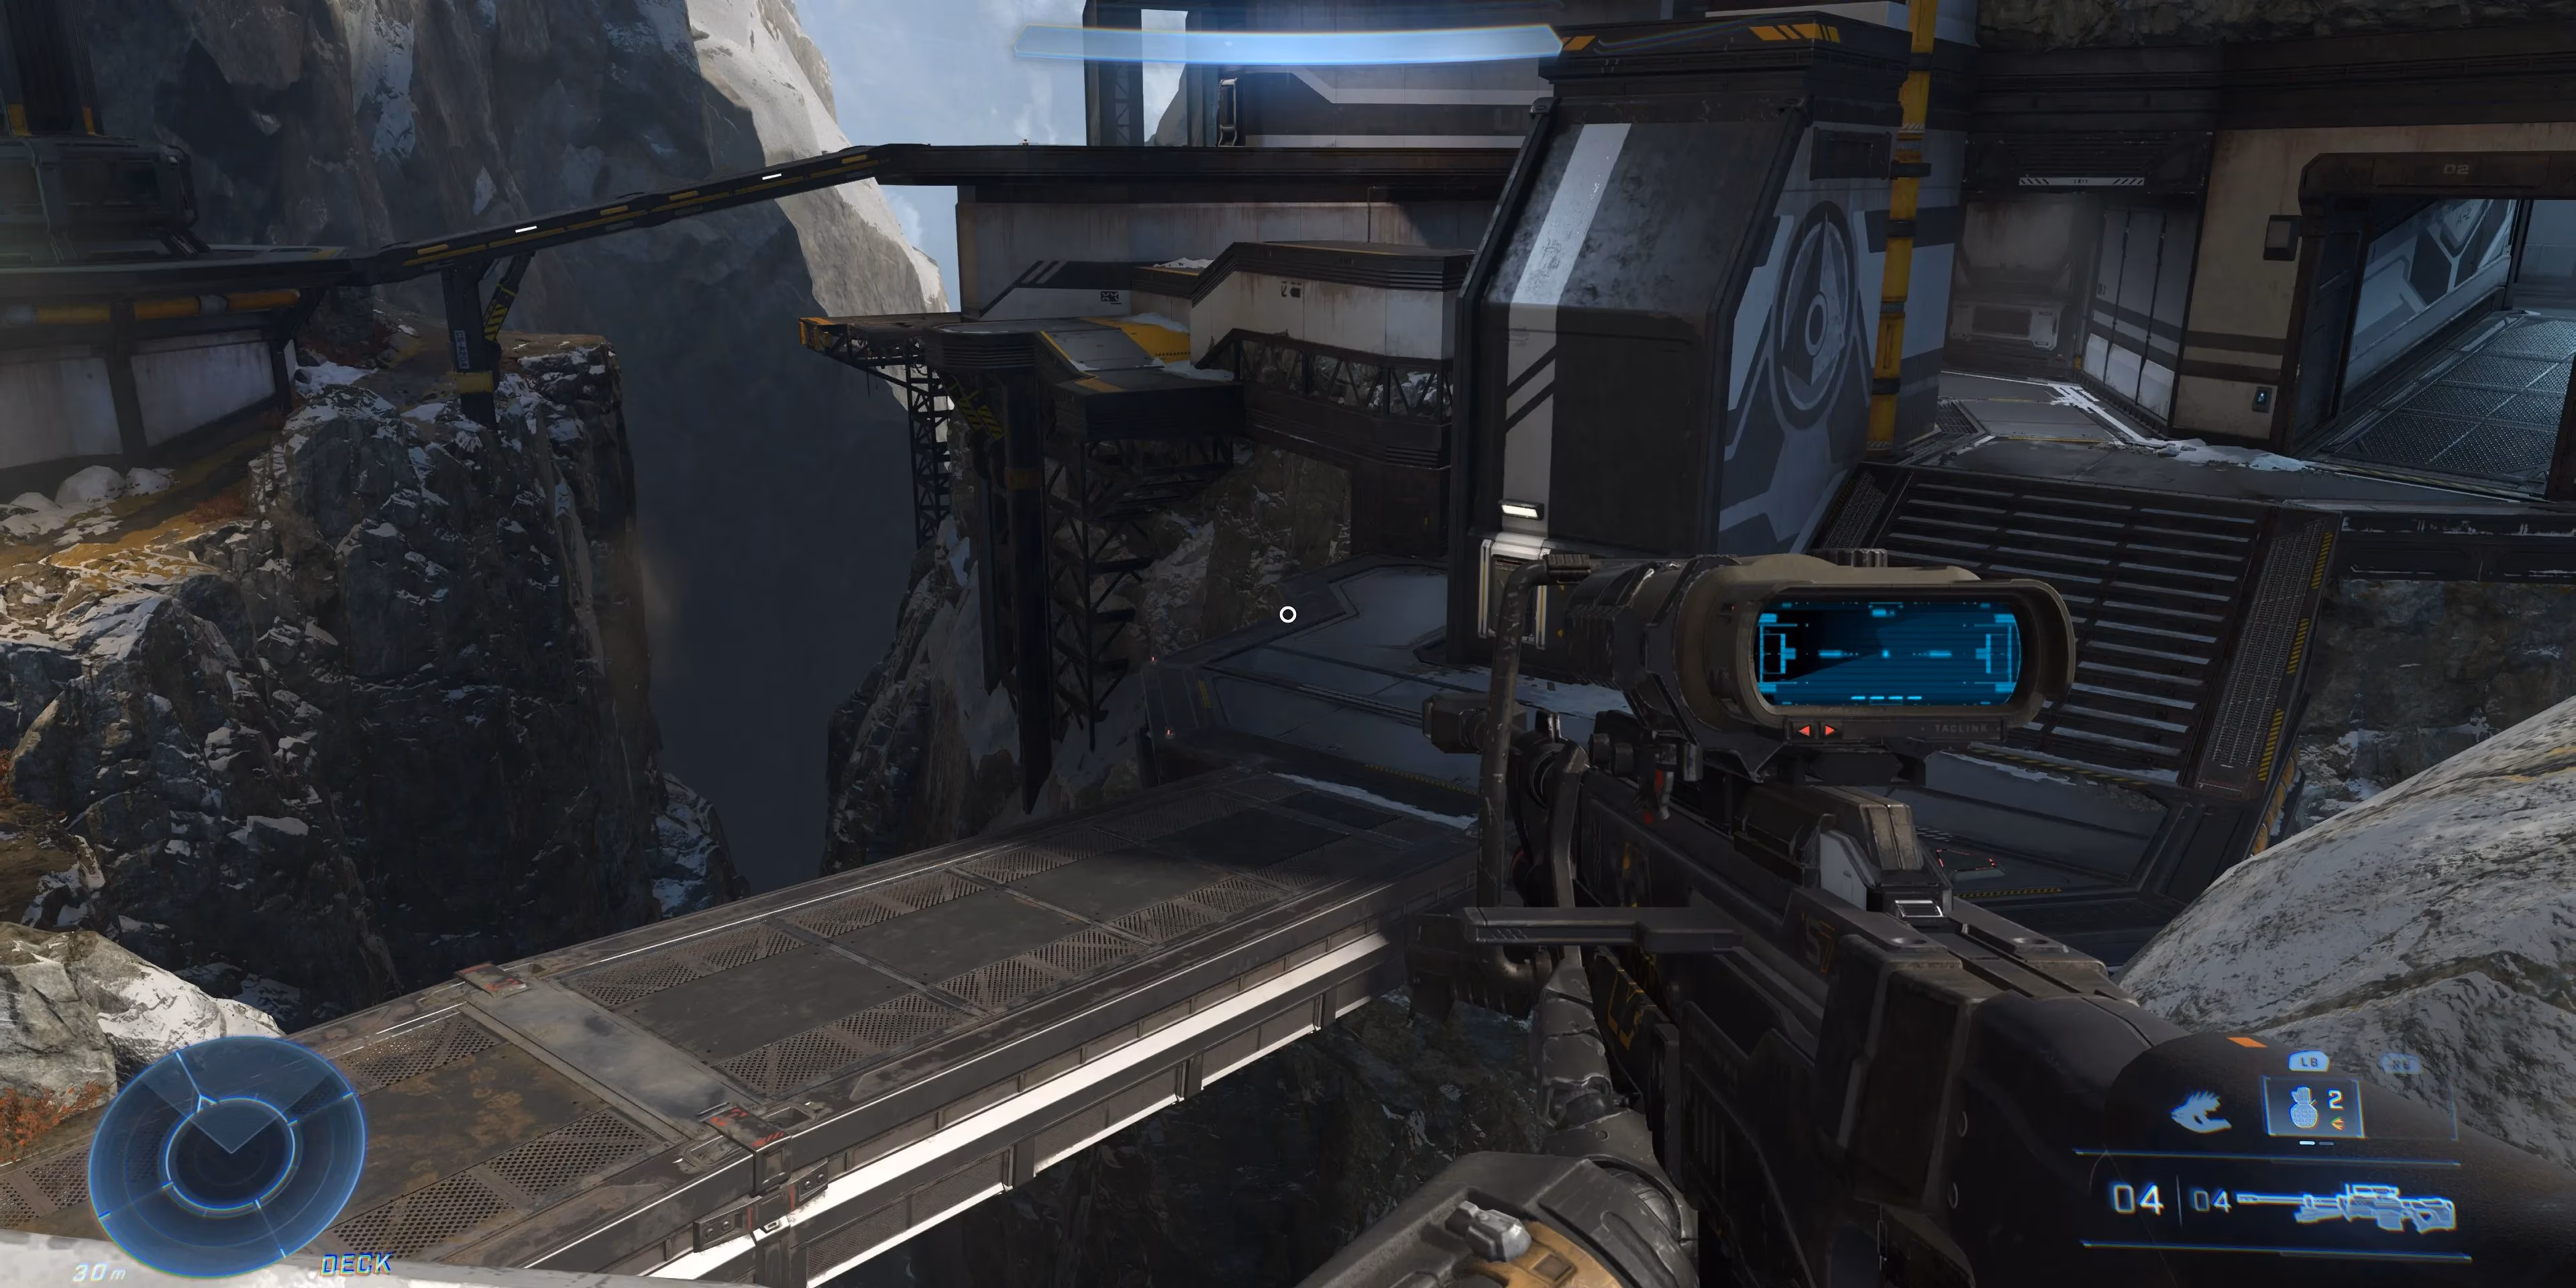
Lock Down Sanctuary (But Don’t Get Locked In)
Sanctuary feels like a fortress. It houses the Sniper Rifle spawn, and its only access points—those two bridges and the lift—make it defensively supreme. I love holding this side with a squad, rotating between the upper beams and the ground‑level archways. A well‑coordinated team can bleed an opposing force dry as they try to cross. Yet, isolation here spells doom. I’ve been pinned alone inside while grenades rained down from above. The enclosed space becomes a blender of explosives, and one misstep near the open back ledge sends me into the death chute below—a bottomless pit I’ve memorized with painful clarity. I’ve found that Sanctuary works best when we keep at least one teammate on the outside, applying pressure from the Hex Roof or the cliff paths. The Sniper Rifle is devastating, but only when I have spotters calling out threats. Without cover fire, I’m just a stationary target. So I coordinate, I keep my head on a swivel, and I treat every grenade indicator as a command to relocate.
With these insights, Cliffhanger transformed from a confusing blizzard of angles into my favorite arena. Whether I’m raining plasma from the roof, sprinting through the basement with a hammer, or swinging across the gap like a mechanical arachnid, this map rewards intelligent aggression and spatial awareness. The frozen vista isn’t just scenery—it’s a chessboard waiting for a clever mind.
Comments